


Every Hashira vs Upper Moon Fight in Infinity Castle, Ranked
Manga spoilers throughout. This post covers the Infinity Castle arc (chapters 138-183) in full, including fight outcomes and character fates. If you are waiting for the anime films to reveal these, come back after Part 3.
The Infinity Castle arc is the most concentrated fight sequence in Demon Slayer. Seven major Hashira vs Upper Moon matchups run simultaneously inside the shifting rooms of Muzan's dimensional prison. Some are set up for two seasons. Some last only minutes in page count. Some redefine the ceiling of what the series can do.
Ranked here by stakes, manga significance, and expected animation weight, not simply by who wins. This is an editorial call, not a power level chart.
TL;DR: Fight ranking at a glance
| Rank | Fight | Why | |---|---|---| | #7 | Zenitsu vs Kaigaku | Personal rivalry, low Upper Moon tier, limited animation canvas | | #6 | Kanao + Inosuke vs Doma | Crucial outcome, but continuation of Shinobu's setup | | #5 | Obanai + Mitsuri (Muzan phase) | Part of the collective endgame rather than a clean 1v1 | | #4 | Shinobu vs Doma | The sacrifice. Structurally one of the most unusual fights in the series | | #3 | Tanjiro + Giyu vs Akaza | Protagonist fight with the Mugen Train weight behind it | | #2 | Muichiro + Genya vs Kokushibo | The opening gambit on Upper Moon 1. Emotionally devastating | | #1 | Gyomei + Sanemi vs Kokushibo | The peak of Ufotable's entire Demon Slayer run |
The fights, ranked
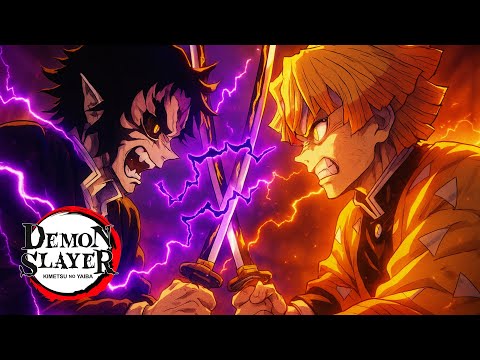
#7: Zenitsu Agatsuma vs Kaigaku (Upper Moon 6)
Stakes: Zenitsu against the person who took the Upper Moon 6 rank after Daki and Gyutaro fell, and who was once a training partner under Jigoro Kuwajima. Kaigaku can use every Thunder Breathing form except the first. Zenitsu developed his own seventh form specifically for this fight. The outcome is decisive: Zenitsu wins using Flaming Thunder God, the technique he created alone without a teacher. Kaigaku is destroyed. The personal dimension is clear but the emotional aftermath is as much grief as triumph. Ranked seventh not because the fight is weak, but because Kaigaku is the lowest-ranked Upper Moon present and the fight's canvas is smaller than what follows. Context: Kaigaku was promoted from the Lower Moon rank after Gyutaro's defeat. For that structure, see the Lower Moons guide. For Zenitsu's position among Hashira-class fighters, see the Hashira ranked post.
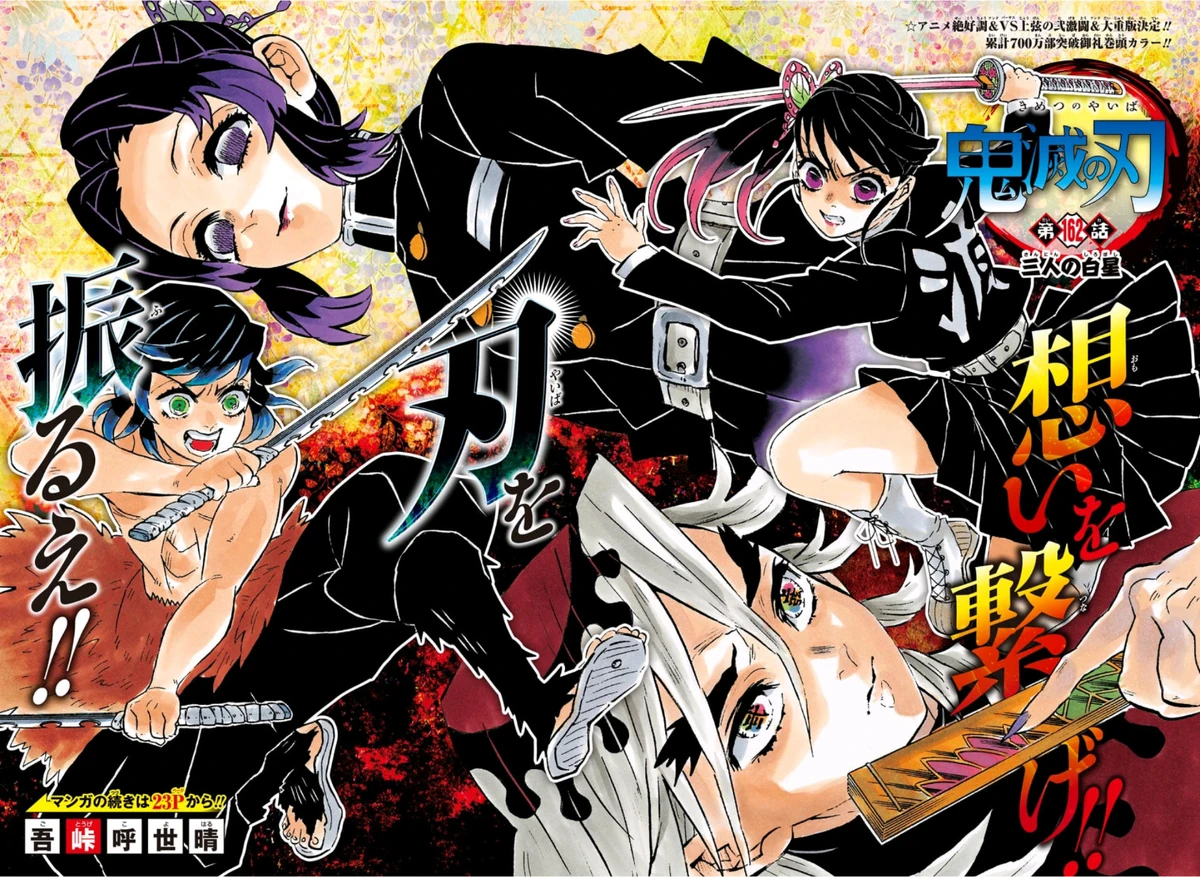
#6: Kanao Tsuyuri and Inosuke Hashibira vs Doma (Upper Moon 2)
Stakes: Finishing what Shinobu started. Doma, Upper Moon 2, is already weakened by the wisteria poison Shinobu loaded into her own body before he absorbed her. Kanao arrives alongside Inosuke and the fight becomes a three-way sequence of escalation and collapse. Kanao uses a new Flower Breathing technique, Clear Blue Sky, which she developed alongside Shinobu. Inosuke fights with characteristic ferocity. The outcome is Doma's destruction, partly from poison already inside him and partly from the combined assault. He crumbles in the Infinity Castle, taunting even in his final moments. Ranked sixth rather than higher because the fight is structurally a continuation of Shinobu's sacrifice, and Kanao and Inosuke are not Hashira. Their fight is the payoff, not the setup. The setup is what earns the higher rank. For Doma's full profile, see the Upper Moons ranked guide.
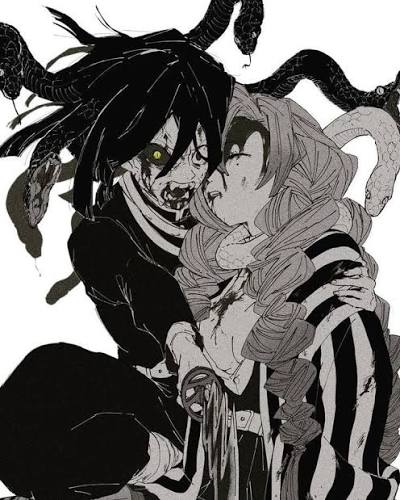
#5: Obanai Iguro and Mitsuri Kanroji (the Muzan phase)
Stakes: The endgame. After Nakime is neutralised through Yushiro's intervention (using Tamayo's Blood Art to seize control of her biwa, ultimately causing her destruction), the remaining survivors converge on Muzan. Obanai and Mitsuri are the primary Hashira still standing in that final fight alongside Tanjiro, Zenitsu, and Inosuke. Both fight at the absolute limit. Obanai develops new Serpent Breathing applications in real time during the battle. The outcome for both is fatal. They survive long enough to see Muzan destroyed, and die from their wounds shortly after. Mitsuri and Obanai confess to each other at the end. Ranked fifth because while the personal stakes are high and the animation canvas is enormous, this slot covers a phase of the Muzan fight rather than a clean Hashira vs Upper Moon structure. It belongs in the ranking but stands apart from the Upper Moon matchups above and below it. For full Hashira profiles on both fighters, see the Hashira guide.
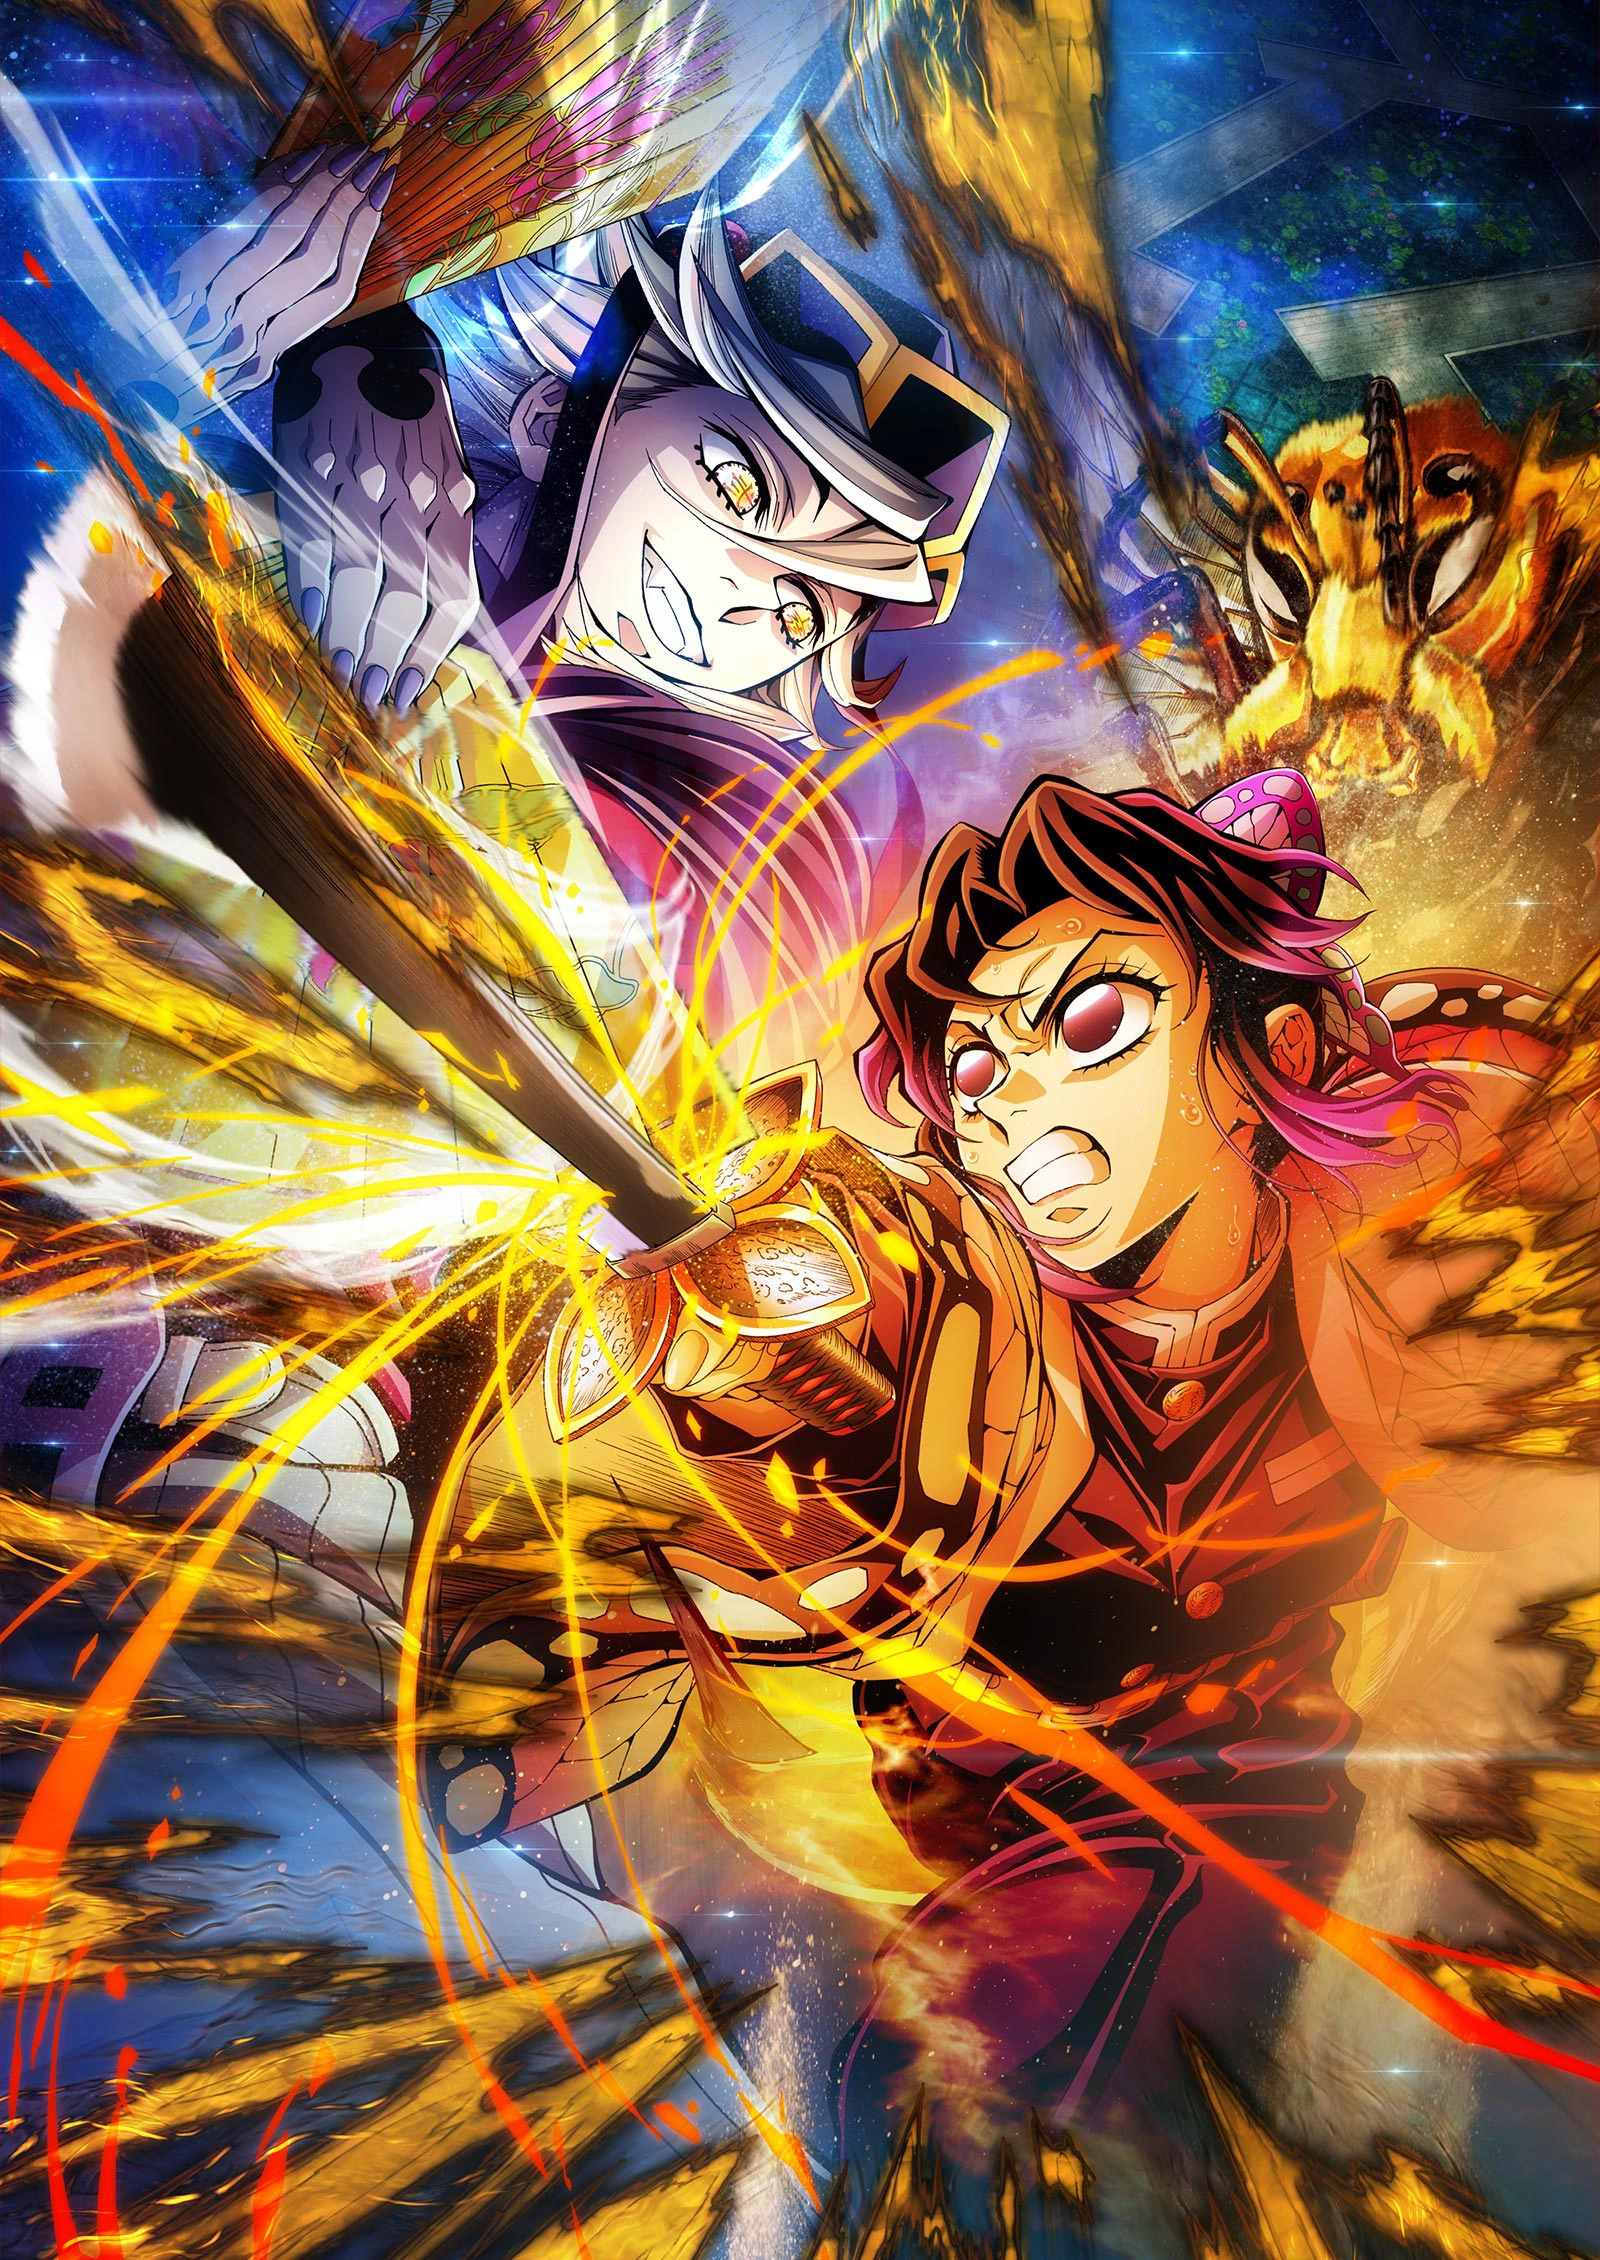
#4: Shinobu Kocho vs Doma (Upper Moon 2)
Stakes: One of the most structurally unusual fights in Shonen manga. Shinobu cannot decapitate demons: her physical strength falls below the threshold required to cut through a demon's neck. Her entire fighting style is built around injecting wisteria poison through ultra-fine blade thrusts at lethal speed. Against Doma, that approach fails. His ice-based Blood Demon Art keeps neutralising the poison, and his regeneration far exceeds the dosage she can deliver per hit. The outcome is that Shinobu chooses to die on her own terms. She has spent months consuming wisteria poison and allows Doma to absorb her body entirely, delivering a dose 700 times the amount needed to kill any ordinary demon. It is not enough to destroy him alone, but it weakens him critically for what follows. She loses the fight in every conventional sense and wins it in a way that only she could. The fight is ranked fourth, not higher, because it is short in page count and functions primarily as a setup mechanism for Kanao and Inosuke's continuation. That does not diminish it. It is the most tragic individual moment in the arc. For Shinobu's full breakdown, see the Hashira ranked guide. For Doma's rank among the Upper Moons, see the Upper Moons post.
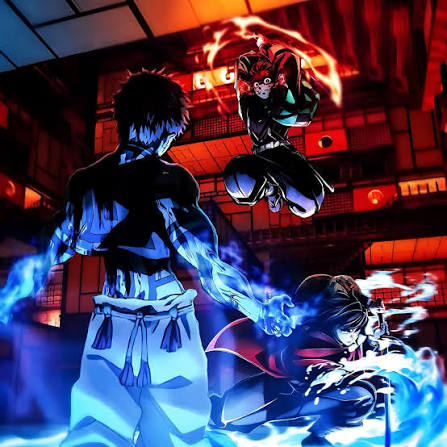
#3: Tanjiro Kamado and Giyu Tomioka vs Akaza (Upper Moon 3)
Stakes: Akaza killed Rengoku. That is the weight this fight carries from its first panel. Akaza, Upper Moon 3, is a physical combat specialist with no weapon and no conventional Blood Demon Art, only a martial arts-based technique called Destructive Death (Hakai Satsu) that generates shockwaves and enhances his strikes. He has never lost since becoming a demon. The fight runs through Tanjiro using Hinokami Kagura at sustained high output and Giyu unlocking his own Demon Slayer Mark. Akaza regains his memories of his human life during the battle: a past in which he was a poor boy who loved a sick woman and tried to save her. He chooses to stop regenerating. He does not let himself be killed. He stops fighting and allows his body to die, reaching toward a face only he can see. Ranked third. The Rengoku payoff, the protagonist fight, Giyu's full activation, and Akaza's redemption arc all land here. The only reason it is not higher is because the Kokushibo sequence above it operates at a different scale entirely. For Giyu and Tanjiro's Hashira context, see the Hashira ranked guide.
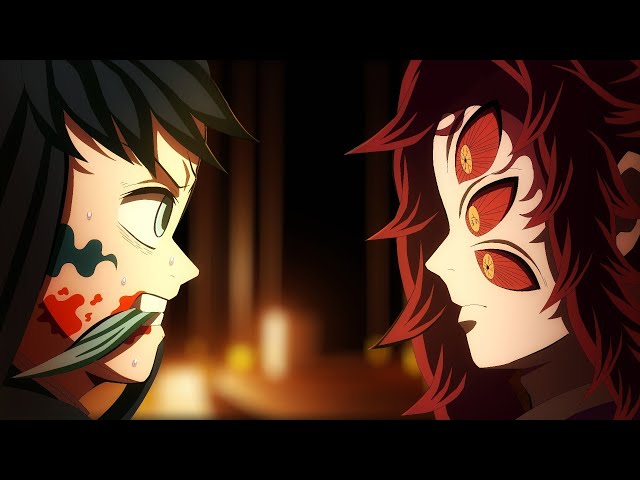
#2: Muichiro Tokito and Genya Shinazugawa vs Kokushibo (Upper Moon 1, opening phase)
Stakes: The first Hashira to engage Upper Moon 1 is the youngest, Muichiro, who entered the Corps at 14 and became a Hashira in two months. Kokushibo is the oldest demon in existence other than Muzan, alive since the Sengoku era 500 years ago, and a user of Moon Breathing: a style with 16 distinct forms that launches crescent-shaped blade projections from his own sword. Genya supports Muichiro by consuming pieces of Kokushibo's flesh to temporarily take on demon characteristics, gaining enough resilience to stay in the fight. Muichiro recovers his lost memories during the battle and unlocks the Transparent World ability alongside his Demon Slayer Mark. He fights at a level beyond anything he has previously shown. He still loses the exchange: Kokushibo severs his arm. The fight does not end here. Gyomei and Sanemi arrive. Ranked second because this opening phase establishes every horror of what Kokushibo is and what surviving him costs, but the resolution comes in the phase ranked above it. For Muichiro's full profile, see the Hashira guide. For Kokushibo's background among the Upper Moons, see the Upper Moons ranked post.
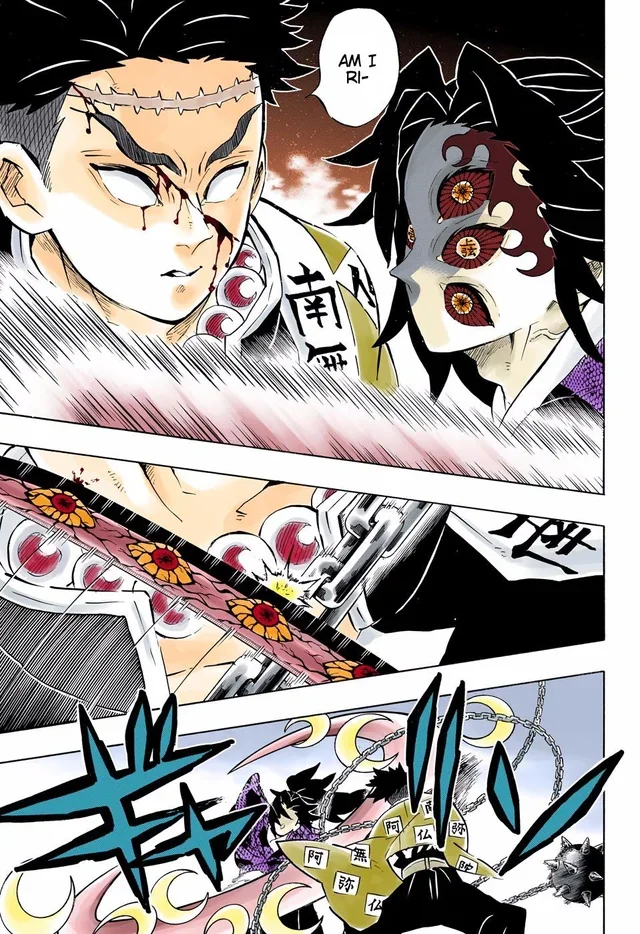
#1: Gyomei Himejima and Sanemi Shinazugawa vs Kokushibo (Upper Moon 1, final phase)
Stakes: The single highest-concentration fight in the arc. Gyomei, the Stone Hashira and the strongest active demon slayer by nearly universal acknowledgement in-universe, arrives alongside Sanemi, the Wind Hashira with Marechi blood. Both activate their Demon Slayer Marks during the fight. Both enter the Transparent World. Kokushibo responds by evolving: he pushes his own body to grow multiple eyes across his blade and frame as the combat intensity forces his physiology to adapt in real time. The fight is a sustained escalation with no clean pauses. The outcome is Kokushibo's destruction. He does not choose death the way Akaza did. He is overwhelmed. In his final moments he sees his brother Yoriichi, the original Sun Breathing user and the demon slayer who came closest to killing Muzan 500 years ago, and chooses to stop. All four fighters end the sequence alive but irreparably injured. Ranked first because this is the fight that represents the series' absolute ceiling: Ufotable's most anticipated adaptation target, the most technically complex Blood Demon Art in the franchise, and the single fight that justifies the trilogy format existing at all.
The Muichiro-to-Gyomei handoff
The Kokushibo fight is one continuous sequence split across two entries in this ranking, not two separate events. Muichiro engages first, with Genya's support. Both are pushed past their limits. When Gyomei and Sanemi arrive, the fight does not reset: it escalates from the state Muichiro and Genya created.
This structure matters for Ufotable's adaptation. The first half establishes the threat ceiling before the second half raises it again. Splitting this across two films, with the Muichiro phase ending Part 1 and the Gyomei / Sanemi resolution anchoring Part 2's climax, is the most natural pacing decision available to the studio. The Mugen Train precedent is relevant here: Ufotable repeatedly builds to a single sustained peak rather than distributing equal weight across a film. For Part 2, Gyomei and Sanemi vs Kokushibo is almost certainly that peak.
Moon Breathing's 16 forms present a specific animation challenge that has no precedent in the series. Each form generates physical crescent-blade projections from the sword itself, which means Ufotable needs to animate not just swordwork but an entirely separate set of projectile objects with their own trajectories and visual language, simultaneously with the evasion and counter-attacks of two or three fighters. This is why Ufotable's own promotional materials consistently highlight this fight above all others in the trilogy.
The Shinobu twist
Shinobu vs Doma is the fight that anime-only viewers have been anticipating since the Entertainment District arc established her as the most technically unconventional Hashira. The structural premise of the fight is unlike anything else in the series.
Insect Breathing is built around the assumption that its user cannot win in a direct exchange. Shinobu's blades are thin, her thrusts are fast, and everything depends on poison delivery rather than cutting power. Against most Upper Moons, this would still eventually work because wisteria is lethal to demons at sufficient concentration. Against Doma, the ice keeps neutralising it.
The fight's real mechanism is time. Shinobu has been accumulating wisteria poison in her own body for an extended period prior to the fight, pushing the concentration far beyond what any normal method could deliver in a live exchange. The plan is not to defeat Doma with sword technique. The plan is to be absorbed. She wins by dying in the specific way she designed, and she knows that going in.
This is the fight that divides the fandom. Some readers find it the most affecting moment in the arc. Others find the passive structure frustrating compared to the Kokushibo sequence's technical intensity. Both reactions are reasonable. As an adaptation target it is a quieter sequence than the others, and Ufotable's handling of it will determine how the emotional weight translates to a general audience that does not have the manga's interior monologue to work with.
What Part 1 likely covers
No official chapter breakdown per film has been released. This section is grounded in Ufotable's pacing pattern across prior arcs, not confirmed information.
Mugen Train covered the Rengoku vs Akaza fight as its single climactic sequence after a full arc of build-up. Entertainment District built across multiple weeks toward the Tengen vs Gyutaro peak. Both films front-loaded character work and structured the escalation so that the primary fight landed in the final third.
Applying that pattern to Part 1: the film likely covers the castle's activation through the Zenitsu vs Kaigaku resolution, the Shinobu vs Doma opening (and possibly Shinobu's death), and the beginning of Muichiro vs Kokushibo as the Part 1 cliffhanger. That structure gives the film a complete emotional arc (Zenitsu's personal fight resolved), an escalation moment (Shinobu's sacrifice), and a hook that makes Part 2's release essential (Muichiro against Upper Moon 1 with the outcome unresolved).
The alternative, with Part 1 ending on Shinobu's death alone and Muichiro's fight beginning in Part 2, is also plausible but feels like a shorter film. Ufotable's track record favors longer runtimes with denser coverage.
Closing
The Infinity Castle arc is the endpoint that every prior Demon Slayer arc was pointing toward. The fights ranked here are not isolated events: each one resolves a thread from the Mugen Train, Entertainment District, Swordsmith Village, or Hashira Training arcs, and each one shifts the balance of what the surviving characters carry into the final confrontation with Muzan.
For context before watching:
- Demon Slayer Infinity Castle Arc Explained covers the release info, watch order, and spoiler-safe fight list for anyone not yet through the manga
- Hashira Ranked gives full profiles for every Hashira mentioned above
- Upper Moons Ranked covers Kokushibo, Doma, Akaza, and Nakime in detail
- Lower Moons Explained provides the context for Kaigaku's promotion from that disbanded tier
- Nichirin Sword Colours Explained covers the blade designs visible throughout these fights
If you are picking up Demon Slayer collectibles around the film releases, Hashira and Upper Moon figures move fastest in the weeks following each part's premiere. The AnimeVault marketplace is worth checking ahead of and after the July 27 release.
More from the blog
Get new anime collector posts in your inbox.
Reviews, guides, and hobby news — delivered directly.
By subscribing, you agree to our Privacy Policy.